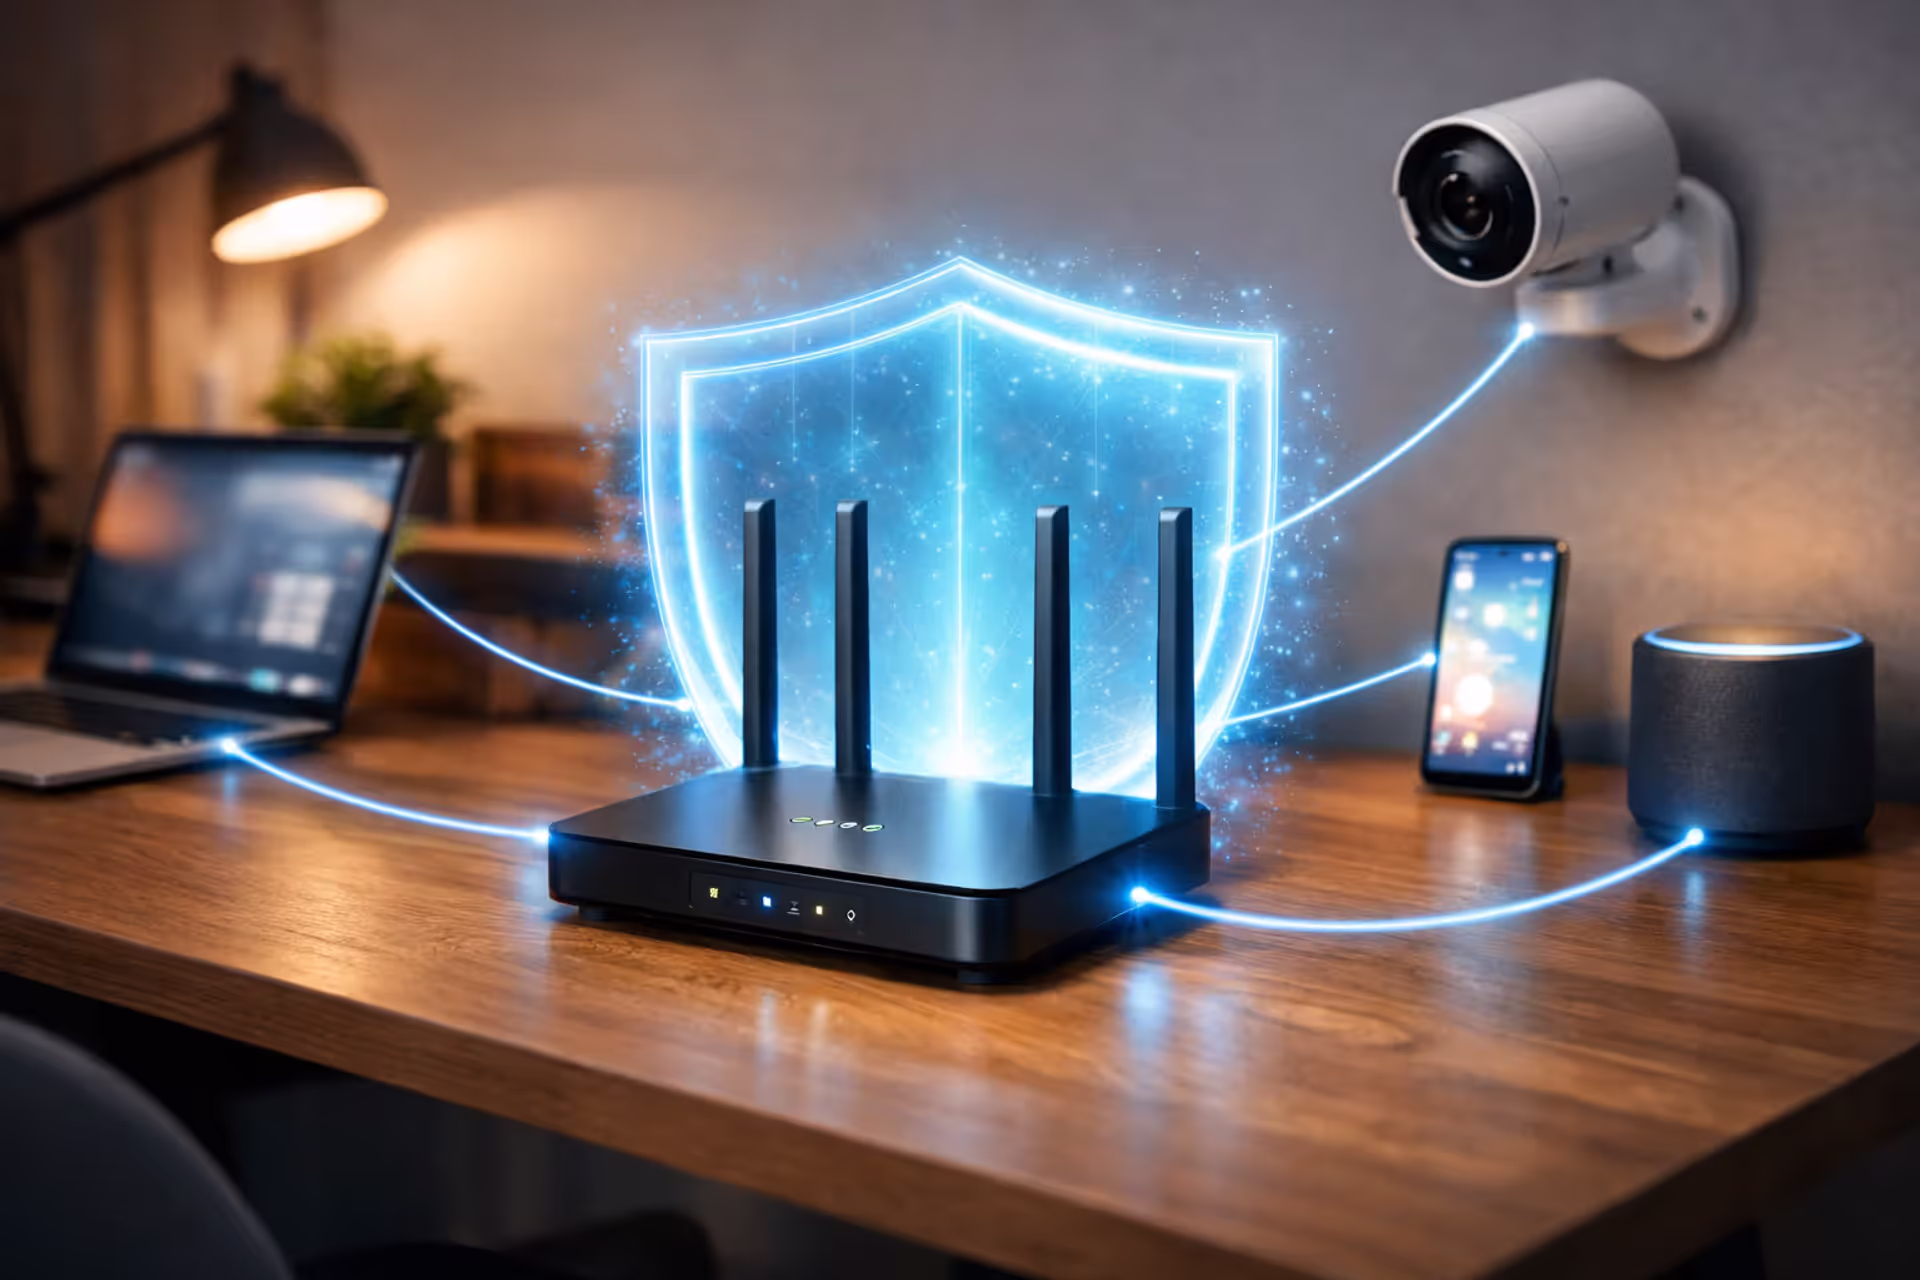
Home internet gateway router on a desk surrounded by a glowing blue security shield with connected devices like laptop, smartphone, security camera, and smart speaker in a modern home office
How to Secure Your Internet Gateway from Common Network Threats

Content
Your internet gateway is the chokepoint between your private network and the wild web. Most folks use the factory settings their ISP ships—which is like leaving your front door not just unlocked, but propped wide open with a welcome mat. A hacked gateway means attackers control everything downstream: your laptops, tablets, phones, security cameras, even that WiFi-enabled coffee maker you bought last year.
We're walking through eight practical steps to harden your gateway. You don't need a computer science degree. Just follow the instructions in order, and you'll close the most exploited security holes within an hour.
Why Your ISP Gateway Is a Prime Target for Hackers
ISPs deploy the same gateway models to millions of customers. Identical hardware. Identical default settings. Hackers love this standardization because once they crack one unit, they've cracked them all. Research from security audits shows roughly 60% of residential gateways still run with usernames like "admin" and passwords like "password"—the same credentials printed in the manual.
Think about what your gateway actually does. It translates domain names, manages who connects to your WiFi, routes every packet of data, and usually runs software that hasn't been updated since installation. That's not one vulnerability—that's a dozen.
Here's how the attacks typically unfold:
Credential stuffing: Bots hammer your gateway with common username/password pairs. They'll test thousands of combinations per minute. Factory credentials take seconds to crack—sometimes less.
Firmware exploits: Security holes get discovered constantly. Companies patch them, but installation requires action most users never take. Remember the Mirai botnet from 2016? It hijacked over 600,000 routers and cameras by exploiting known, unpatched vulnerabilities.
DNS hijacking: Attackers quietly change where your DNS requests go. You think you're visiting your bank's website. You're actually on a pixel-perfect fake designed to harvest your credentials.
Home routers and gateways are the soft underbelly of network security. We see compromised devices being weaponized within hours of a new exploit going public. The default configuration is never secure enough
— Kevin Beaumont
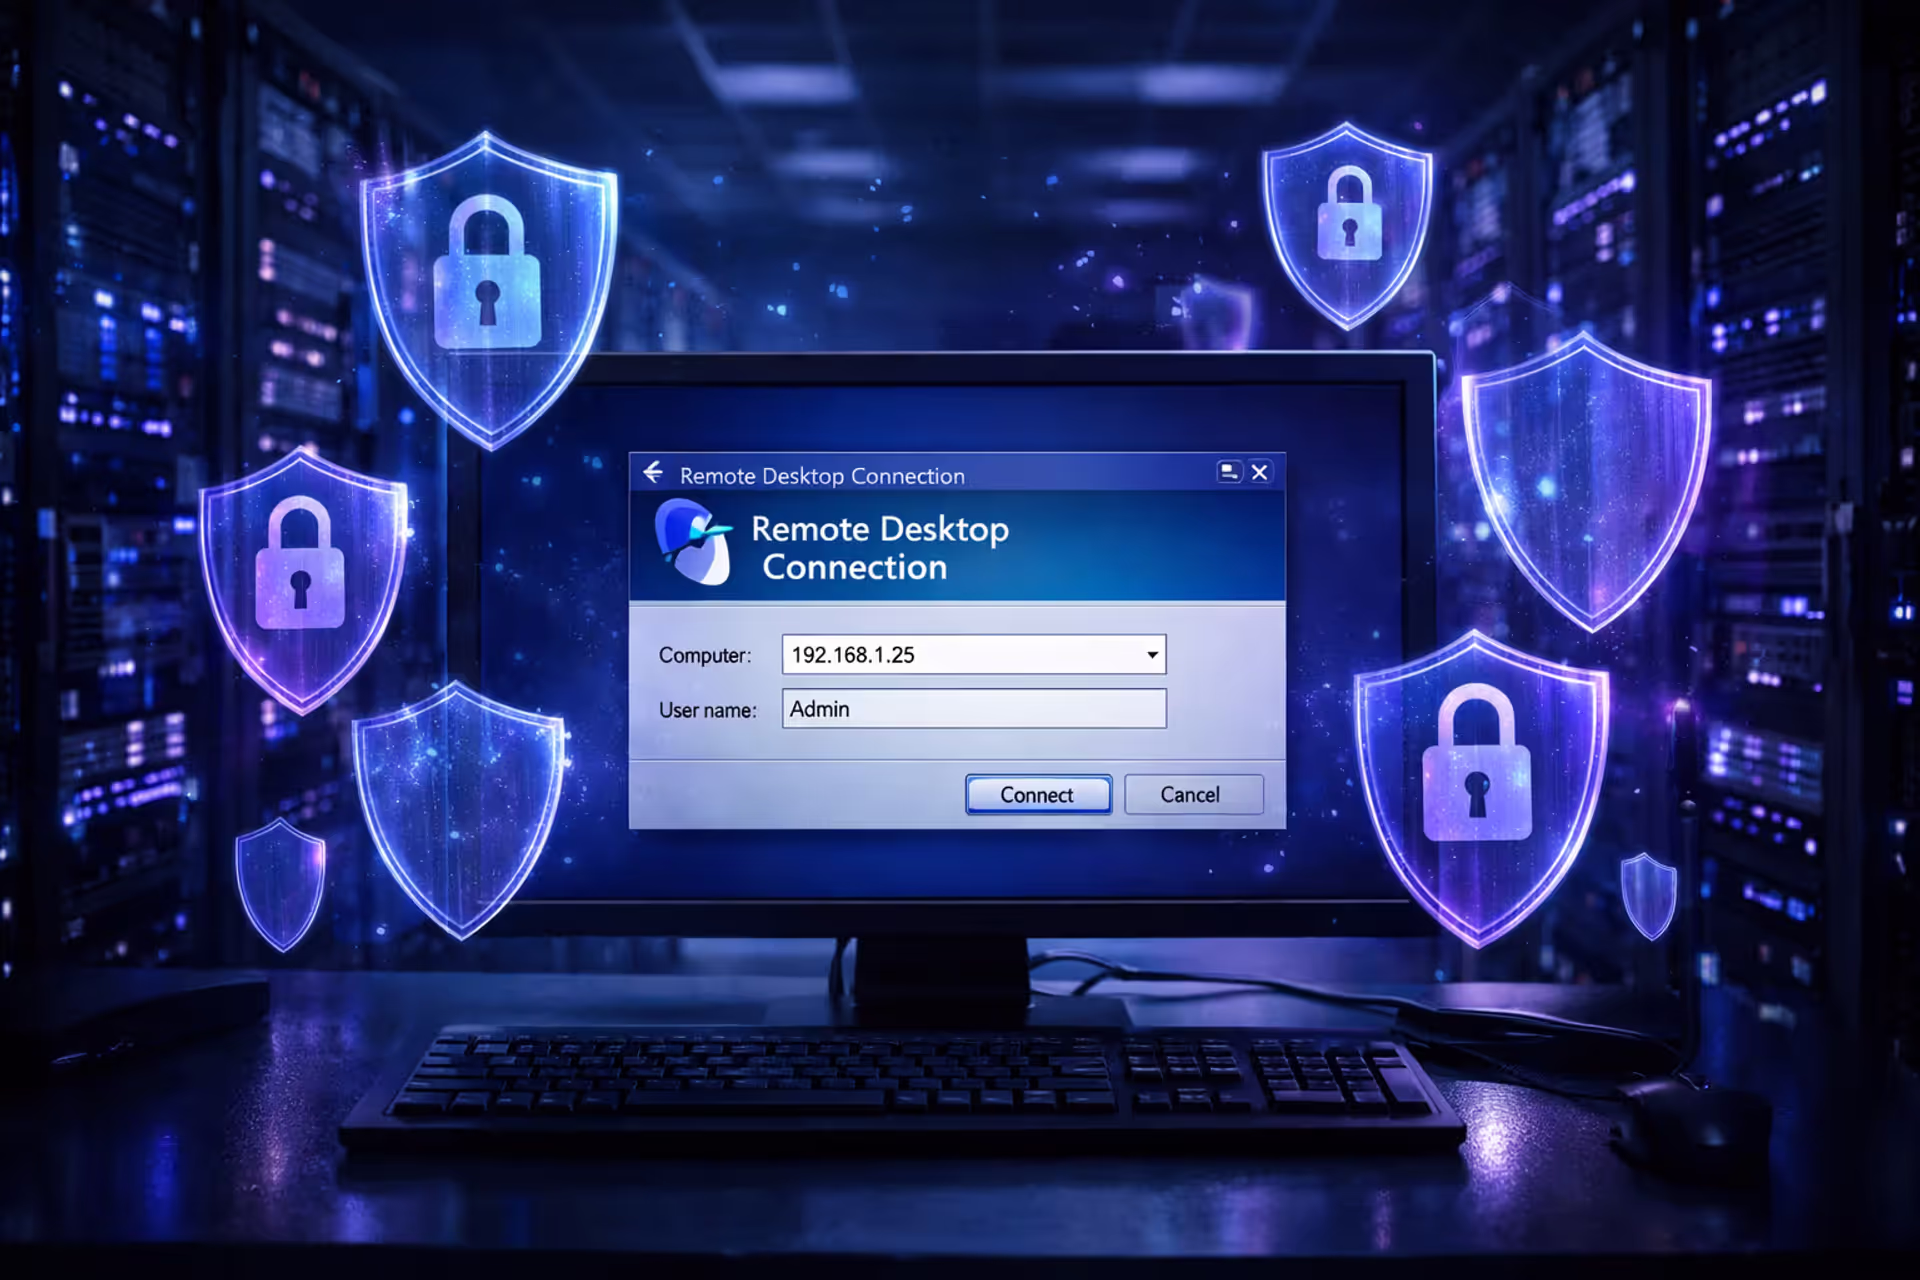
Remote administration makes everything worse. Many gateways ship with internet-accessible management panels—convenient for ISP tech support, catastrophic for security. Every public IP address gets scanned continuously by automated tools hunting for exposed admin interfaces.
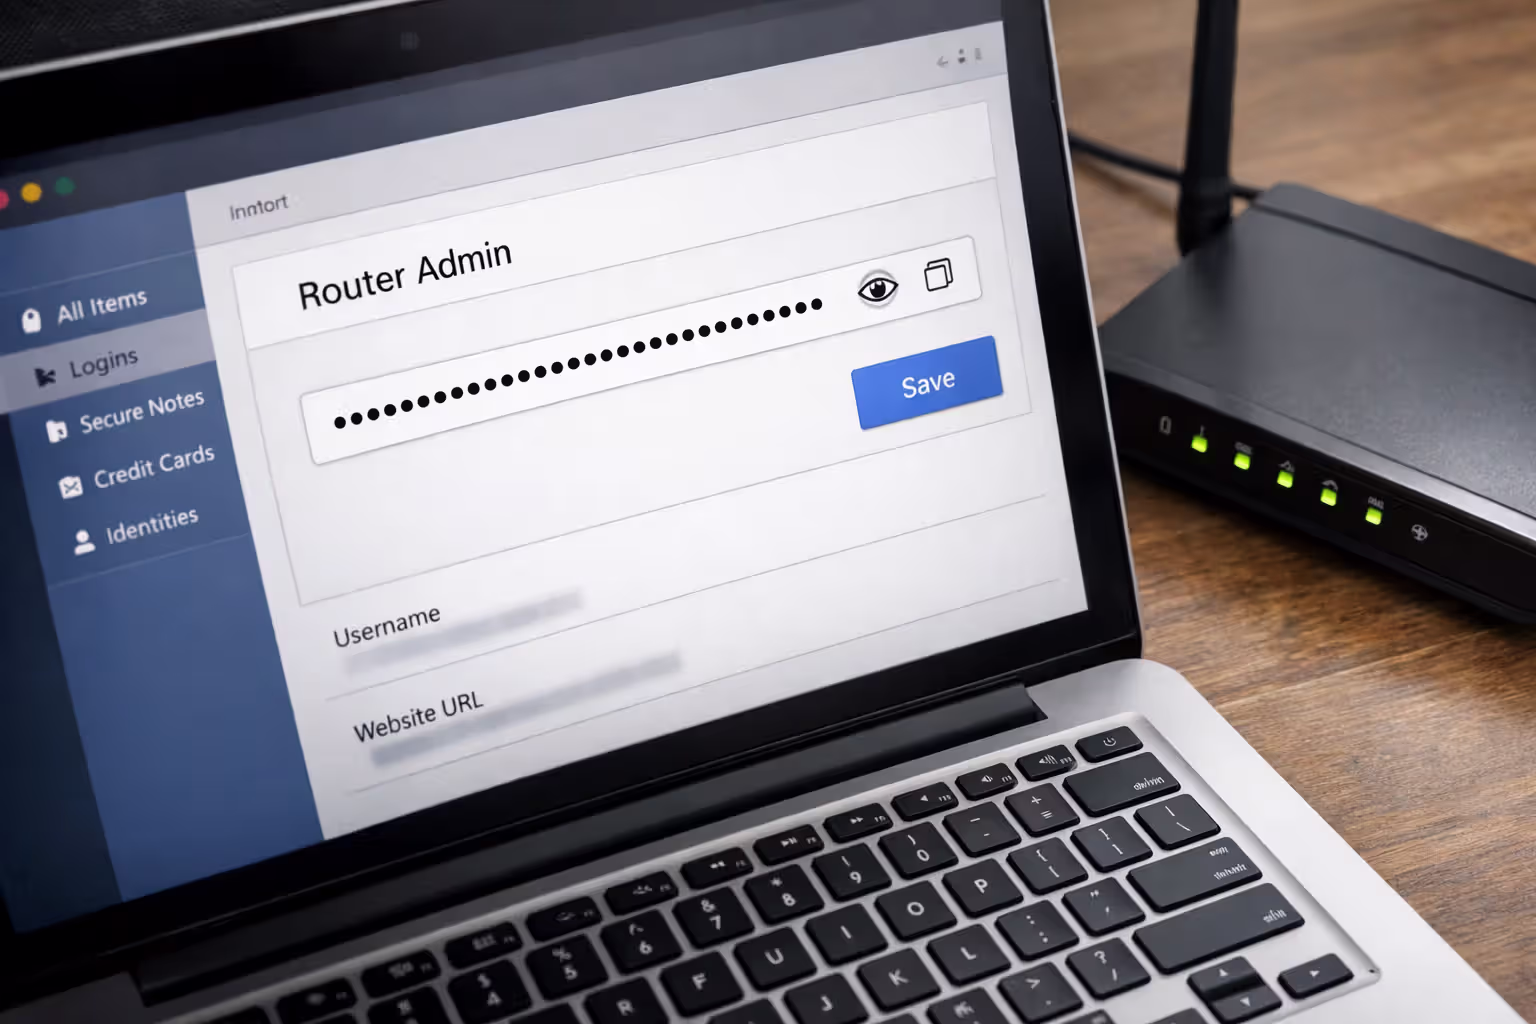
Change Your Gateway Admin Password Immediately
This takes five minutes and stops more attacks than everything else combined. Factory admin passwords are documented in public databases. Search "
default password" and you'll find dozens of sites listing the credentials. Until you change them, your security is theater.How to Find Your Gateway's Admin Panel
Check the sticker on your gateway hardware. The IP address is usually printed there. Common ones:
- 192.168.1.1
- 192.168.0.1
- 10.0.0.1
- 192.168.100.1 (AT&T models)
No sticker? Pull the address from your computer:
Windows: Launch Command Prompt, type ipconfig, and scan for "Default Gateway" in your active connection's details.
Mac: Open Terminal, enter netstat -nr | grep default, and grab the IP from column two.
iPhone/Android: Tap into WiFi settings, select your current network, and find the entry marked "Router" or "Gateway."
Type that address into your browser's URL bar. An authentication screen will pop up asking for credentials.
Creating a Strong Admin Password
Length beats complexity every time. A 16-character passphrase built from random everyday words (think "umbrella-stapler-volcano-breakfast") outperforms an 8-character mess of symbols against cracking tools. Go for at least 15 characters minimum.
Skip anything personal. Birthdays, pet names, street addresses, family member names—all of these show up in leaked databases. Attackers build custom wordlists scraped from your Facebook profile.
Get a password manager. Tools like Bitwarden or 1Password generate genuinely random credentials and store them securely. You memorize one master password instead of dozens.
Never recycle passwords. If your gateway admin password matches your email or banking site, one breach compromises everything.
Log in using the factory credentials (Google "
default login" if you need them). Navigate to the admin password settings—the exact location varies:- Comcast xFi Gateway: Advanced Settings → Gateway → Admin Password
- AT&T BGW210: Settings → Account → Change Password
- Verizon Fios G3100: Advanced → Administration → Password
- Spectrum/Charter: System → Password
Save your new password in your password manager immediately. Write it on paper too, as backup, and stash it somewhere secure—just not on a sticky note attached to the gateway itself.
Author: Caroline Prescott;
Source: flexstarsolutions.com
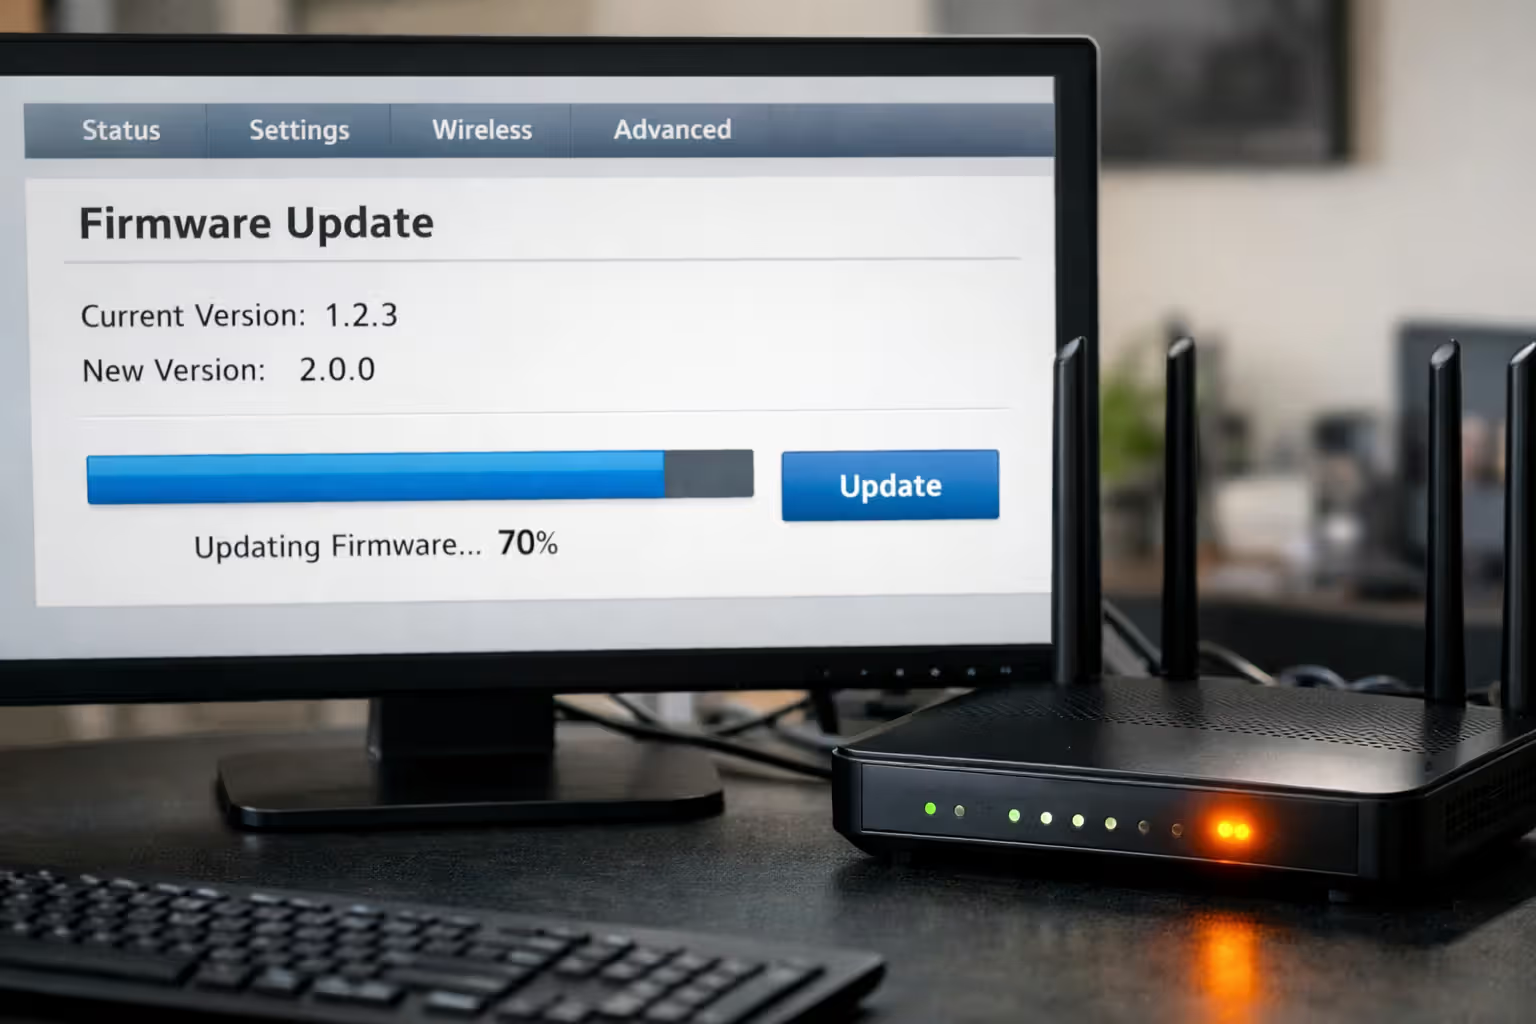
Update Your Gateway Firmware to Close Security Gaps
Firmware is the low-level code running your gateway's chipset. Manufacturers push updates to patch newly discovered security flaws, squash bugs, and occasionally add features. Running outdated firmware leaves known security holes wide open, like ignoring recall notices on your car.
First, check what version you're running. Log into the admin panel and find System Information, Status, or About. You'll see a version number: "v2.3.1" or "1.0.0.45" or similar. Write it down.
Many ISP gateways update themselves automatically, but this feature doesn't always work—and sometimes fails silently. Manual checks catch the gaps.
Comcast xFi: Updates happen automatically without user intervention. Verify your current version under Gateway → Connection → Gateway Software, then cross-reference Comcast's support site to confirm you're current.
AT&T: Go to Settings → Diagnostics → Update. Hit "Check for Updates" to force a manual check right now. If something newer exists, it'll download and install automatically.
Verizon Fios: Navigate to System Monitoring → Firmware Update. Click "Check Now" to query Verizon's servers. Installation requires a reboot lasting 3-5 minutes.
Generic gateways: Hunt through Administration or System menus for anything labeled "Firmware Update," "Software Update," or "System Upgrade." Some require downloading a file from the manufacturer's website, then uploading it through the admin panel.
Create a recurring calendar reminder to check every three months. Critical security patches sometimes need immediate attention—subscribe to your ISP's security notifications if they offer them.
One caveat: firmware updates occasionally break things. New bugs appear, interface layouts change. If you depend on advanced configurations like port forwarding for a home server or custom QoS rules, screenshot your settings before updating. You'll thank yourself later if you need to restore them.
Author: Caroline Prescott;
Source: flexstarsolutions.com
Disable Remote Management and WPS on Your Gateway
Two "convenience" features create security risks far exceeding their benefits. Remote management and WiFi Protected Setup (WPS) both serve legitimate purposes, but they punch holes in your defenses that attackers exploit constantly.
Turning Off Remote Access Features
Remote management lets you access your gateway's admin interface from literally anywhere on the internet. ISPs use it during support calls. Some people like managing their network while on vacation. The downside? Hackers use it exactly the same way.
When this feature is active, your admin panel sits exposed to the entire internet. Scanning tools constantly probe every IP address looking for accessible management interfaces. Even with a strong password, you're betting on your gateway's authentication system being bulletproof—and many have documented flaws.
Shut this down unless you have a specific, ongoing reason to keep it:
- Comcast xFi: Advanced Settings → Gateway → Remote Management → Disable
- AT&T: Firewall → Applications, Pinholes and DMZ → Allow Remote Access → Uncheck
- Verizon: Advanced → Remote Management → Disable
- Generic: Search Administration, Firewall, or Security menus for "Remote Management," "Remote Administration," or "WAN Access"
You'll still access the admin panel from any device connected via WiFi or ethernet. You just can't reach it from Starbucks or your office—which is precisely what we want.
Why WPS Is a Security Risk and How to Disable It
WiFi Protected Setup sold itself on convenience: press a button on your gateway, press a button on your device, boom—they're paired. Alternatively, type an 8-digit PIN instead of your full WiFi password.
Security researchers discovered the PIN implementation contains a fatal flaw. Gateways verify the PIN in two separate chunks (first four digits, then last four digits). This mathematically reduces possible combinations from 100 million down to roughly 11,000. Automated cracking tools brute-force this in hours, not years.
The push-button method isn't much better. Anyone within range of your WiFi signal can trigger pairing mode and potentially squeeze through during that open window.
Turn WPS off completely:
- Comcast xFi: Not applicable (WPS disabled by default on current models)
- AT&T: Settings → WiFi → WPS → Disable
- Verizon: Wireless Settings → WPS → Turn Off
- Generic: Check WiFi, Wireless, or Security settings for "WPS," "WiFi Protected Setup," or "Easy Connect"
You'll manually type your WiFi password when connecting new devices. This minor hassle eliminates a massive vulnerability.
Gateway Security Features: Enable vs. Disable
| Feature | Security Risk if Enabled | Recommended Setting | Impact on Functionality |
| Remote Management | Exposes your admin interface to internet-wide scanning and attacks; authentication bypass vulnerabilities appear regularly | Disable | You lose the ability to manage your gateway when away from home |
| WPS | PIN verification flaw allows brute-force attacks to succeed in hours; push-button mode creates exploitable windows | Disable | You'll need to manually type WiFi passwords when adding new devices |
| UPnP | Allows any device or software to automatically punch holes in your firewall; malware abuses this constantly | Disable (unless specific apps break) | Some games and applications may need manual port forwarding configuration |
| Port Forwarding | Opens specific external ports directly to internal devices; misconfiguration exposes services to attack | Enable selectively with narrow rules | Required for hosting game servers, running remote access tools, certain business applications |
Configure Secure DNS Settings on Your Gateway
Every time any device on your network contacts a website, it first asks a DNS server to convert the domain name into an IP address. Your gateway handles these lookups by default, forwarding them to your ISP's DNS servers. This entire process happens in plain text—completely visible to anyone monitoring your traffic.
DNS hijacking works by redirecting these requests to malicious servers controlled by attackers. You type a legitimate web address, but the fake DNS server responds with an IP address pointing to a phishing site. Your browser's address bar shows what looks like the correct URL (until you inspect closely), and the page appears identical to the real thing.
Encrypted DNS protocols prevent interception and tampering by wrapping requests in encryption. You've got two paths forward:
Option 1: Switch to encrypted DNS providers
Point your gateway at DNS servers supporting DNS-over-HTTPS (DoH) or DNS-over-TLS (DoT):
- Cloudflare: 1.1.1.1 and 1.0.0.1
- Google Public DNS: 8.8.8.8 and 8.8.4.4
- Quad9: 9.9.9.9 and 149.112.112.112
DNS settings live in your admin panel under Internet, WAN, or Network Configuration. Swap out whatever DNS servers are listed currently with your chosen provider's addresses. Fill in both primary and secondary for redundancy.
Option 2: Activate built-in DNS privacy features
Recent gateway models support encrypted DNS natively. Look for settings called:
- DNS Privacy
- DNS-over-TLS
- DNS-over-HTTPS
- Secure DNS
Enable whichever you find, then specify your preferred provider. The gateway encrypts all DNS traffic automatically from that point forward.
One important limitation: encrypted DNS at the gateway level doesn't hide which IP addresses you're connecting to from your ISP. Complete privacy requires a VPN. But secure DNS does block DNS hijacking and prevents casual snooping on your browsing habits.
Test your setup at dnsleaktest.com. Run their extended test and confirm your chosen DNS provider appears in the results instead of your ISP's servers.

Author: Caroline Prescott;
Source: flexstarsolutions.com
Set Up Guest WiFi to Isolate Visitors from Your Main Network
Guest networks create a completely separate WiFi access point that can't see or reach your main network. Visitors get internet access without gaining visibility into your shared folders, printers, or smart home gadgets. This segmentation contains damage if a guest's infected laptop tries to spread malware.
Most current gateways include guest network functionality. Different manufacturers use different labels:
- Guest WiFi
- Guest Network
- Guest Access
- Visitor Network
Open WiFi or Wireless settings in your admin panel. Hunt for a "Guest Network" option—usually a checkbox or toggle. Enable it and configure:
Network name (SSID): Pick something obviously distinct from your main network. "Garcia Guest WiFi" communicates more clearly than "GarciaNet-2" which network guests should choose.
Password: Use something completely different from your main WiFi password—something you're comfortable sharing without worrying. Make it reasonably strong (12+ characters) but memorable enough to tell visitors without writing it down. Rotate this password every few months if you have frequent guests.
Client isolation: Enable this if your gateway offers it (sometimes called "AP Isolation" or "Station Isolation"). It prevents devices on the guest network from talking to each other, adding another security layer.
Bandwidth limits: Some gateways let you cap guest network speeds. Limiting guests to 50% of your total bandwidth ensures visitors can't monopolize your connection during an important video call.
Access schedule: Advanced models support time-based controls. You could restrict guest network access to typical visiting hours (say, 9 AM to 11 PM), automatically disabling it overnight when nobody's visiting.
Guest networks aren't just for actual guests. Connect your IoT devices here too—smart speakers, security cameras, smart plugs, WiFi thermostats. These gadgets ship with weak security and rarely receive updates. Isolating them prevents a compromised smart bulb from pivoting to attack your laptop.
The tradeoff: devices on different networks can't interact. You can't print from a guest's laptop to your printer, or cast from their phone to your TV. For most homes, this limitation is completely acceptable given the security improvement.

Author: Caroline Prescott;
Source: flexstarsolutions.com
Gateway Security Checklist: 12 Settings to Verify Today
Work through this checklist to verify your secure internet gateway setup. Each item addresses a specific attack vector. Print this and check boxes as you complete them:
Access Control -Admin password changed from factory default to unique 15+ character credential - Admin password saved in password manager, not written on gateway hardware -Remote management feature completely disabled (unless you have specific ongoing need) - Admin panel access restricted to local network connections only
Wireless Security -WPS turned off on both radio bands (2.4GHz and 5GHz) -WiFi encryption set to WPA3 (fall back to WPA2 only if WPA3 isn't supported) - Guest network enabled and properly isolated from main network -Guest network configured with different password than main WiFi
System Security -Firmware verified as latest version currently available - Automatic firmware updates activated (if your gateway supports this) - DNS servers switched to encrypted provider (Cloudflare, Quad9, or Google) - UPnP feature disabled (unless specific applications break without it)
Revisit this checklist every three months. Security isn't a one-and-done project—vulnerabilities emerge constantly, firmware updates release regularly, and settings sometimes revert after power outages or ISP maintenance windows.
Frequently Asked Questions
Gateway security stopped being optional years ago. The typical home network now connects 25+ devices, each potentially vulnerable. Your gateway either protects all of them or fails all of them.
Start with the admin password. Right now, this minute, before you click away from this tab. Log into your gateway and change it. This single action blocks the majority of automated attacks.
Then tackle the rest: firmware updates, remote management, WPS, DNS configuration, guest network setup. Each step requires 5-10 minutes but multiplies your security substantially. Invest one focused hour today, avoid weeks of cleanup after a breach tomorrow.
Security works through layering. No single measure makes you invulnerable, but each additional barrier forces attackers to work harder. Most move on to easier targets. Your goal isn't achieving perfection—it's becoming more trouble than you're worth.
Put a recurring reminder on your calendar. Schedule a quarterly review to run through the security checklist, check for firmware updates, and verify your settings haven't mysteriously reverted. Gateway security demands ongoing maintenance, not just initial setup.
The tools already exist in your gateway's admin panel. The knowledge is right here in this guide. Action is the only missing ingredient.