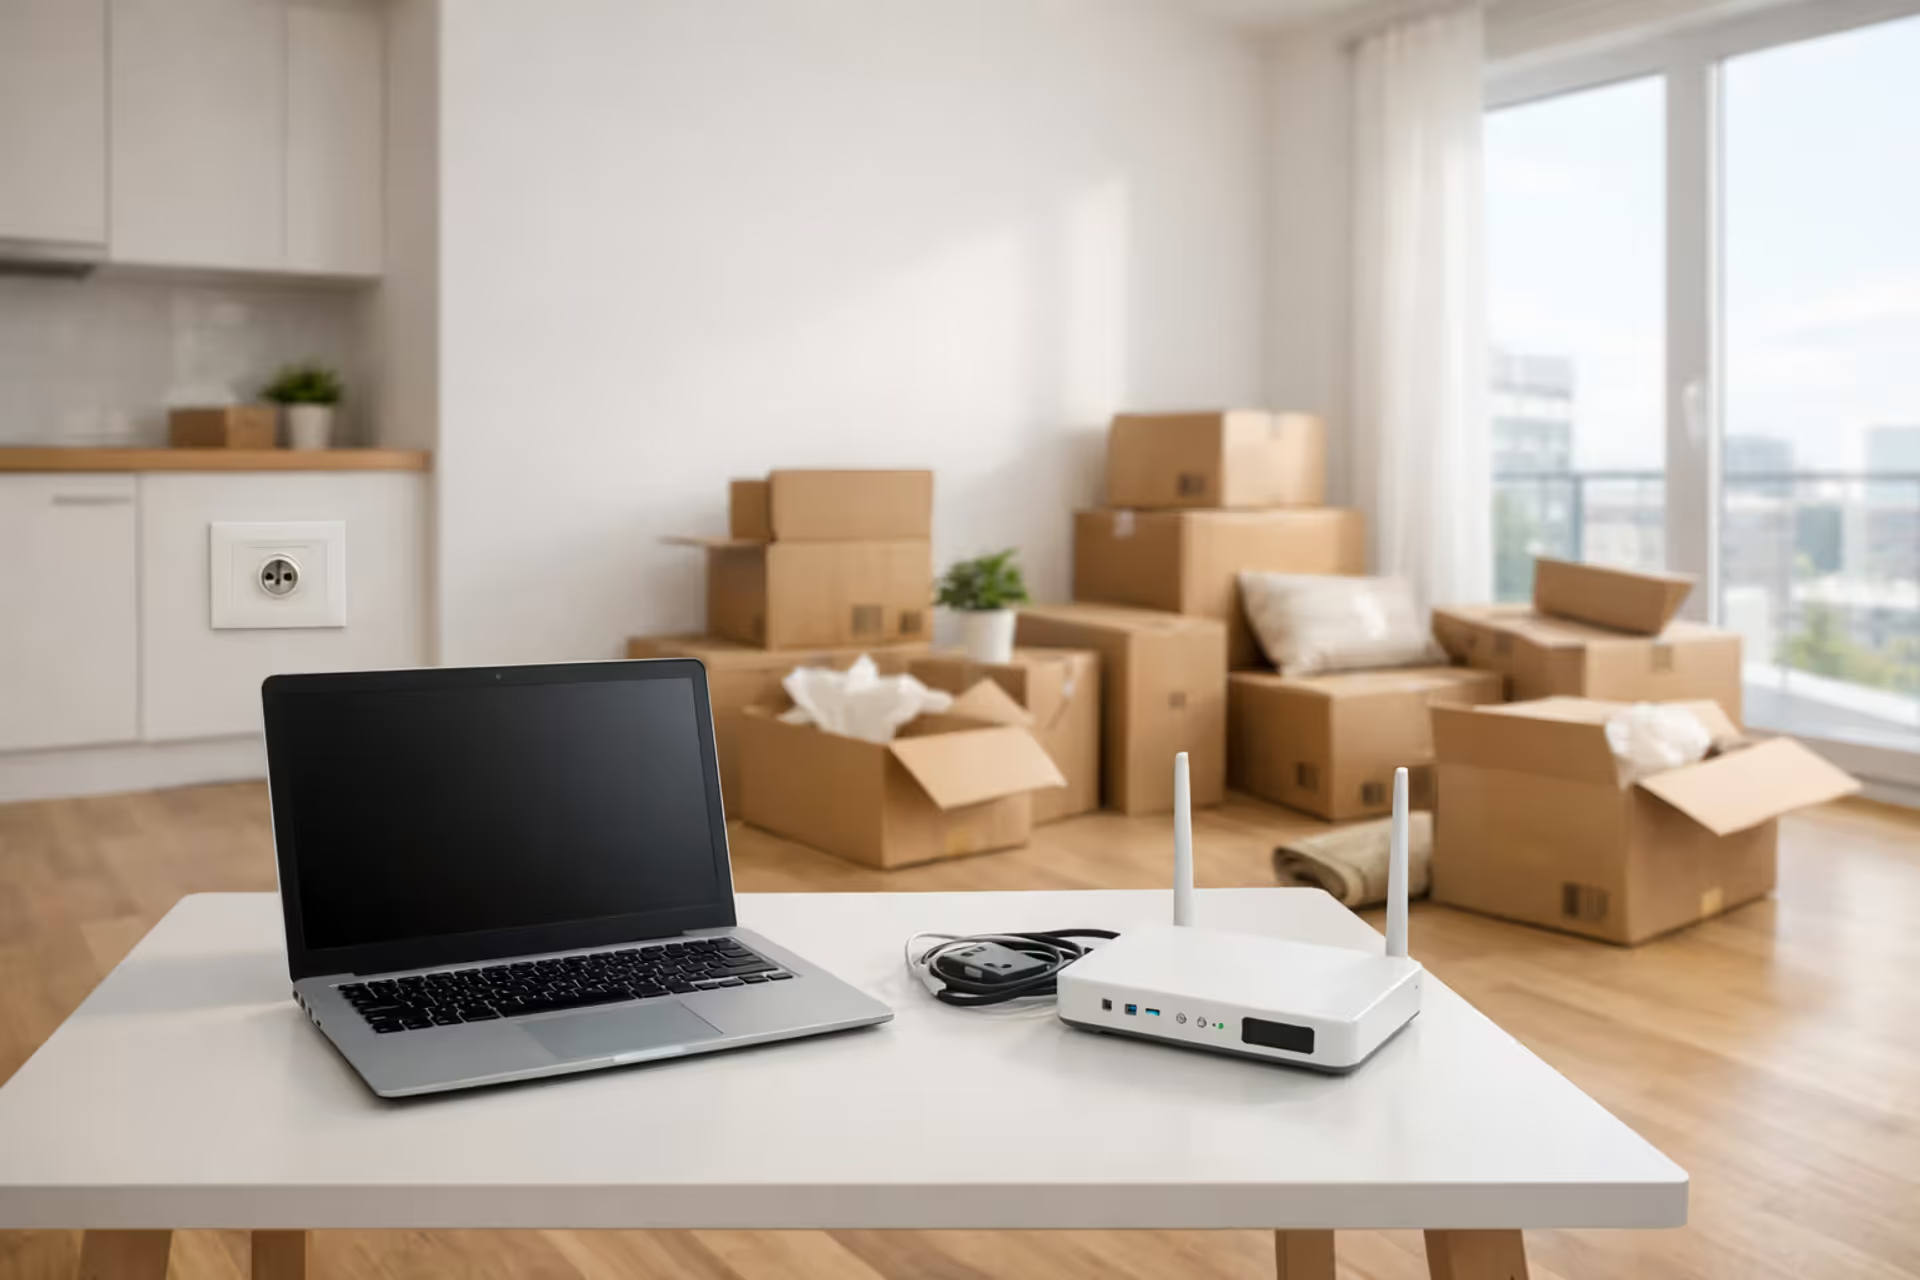
Empty modern apartment with moving boxes, laptop on desk and Wi-Fi router ready to be set up near a coaxial wall outlet
How to Set Up Internet in a New Apartment Before Moving

Content
Your moving boxes are packed, you've got the keys to your new place, and now you're wondering about Wi-Fi. Here's the thing—if you wait until moving day to think about internet, you'll probably spend your first week hotspotting off your phone while you wait for an installation appointment. I've seen people lose that $500 work-from-home bonus because they couldn't log in during their first week. Planning ahead makes all the difference.
Getting connected in a new apartment isn't quite as simple as plugging in a router and going. Depending on your building, you might face provider restrictions, equipment compatibility issues, or surprise fees from your old ISP. This walkthrough covers the actual process, including the stuff that trips people up.
Check What Internet Providers Are Available at Your New Address
You can't pick a provider until you know who actually serves your building. Sounds obvious, but apartment internet availability works differently than house hunting—you might find three providers listed for your ZIP code while your specific building only allows one.
Call your future landlord or the property management office first. Ask directly: "Which internet companies can I use in unit your number?" Some buildings locked into exclusive provider contracts years ago. Others pre-wired everything for one company and never added alternatives. Occasionally you'll luck into a building where internet comes bundled in your rent at a group discount rate.
When management can't give you a straight answer (happens more than it should), hit the ISP websites yourself. Punch in your full address with the apartment number—seriously, include the unit number because building A might have fiber while building B is still on cable from 2010. Xfinity, Spectrum, AT&T, and Verizon all have address checkers on their homepages.
The FCC broadband map shows general coverage but tends to paint with a broad brush. It'll confirm which providers operate in your neighborhood without getting granular about individual buildings.
Your best intel comes from actual residents. Knock on a few doors during your walkthrough, or search "your building name internet" on Reddit. People love complaining about bad service online, which actually helps you—you'll learn whether the "gigabit" speeds advertised actually deliver, or if everyone's connection tanks at 7 PM when the whole building streams Netflix.
Checking Provider Availability: What Works Best
| Approach | Time Investment | Reliability | When to Use It |
| ISP online address checkers | 3-5 minutes per site | Accurate for specific units | Testing particular companies you already prefer |
| Contact property management | 1-2 business days | Most reliable | Finding out about building-specific agreements or restrictions |
| FCC's broadband map | Under a minute | Shows general area, not building-specific | Quick overview of neighborhood options |
| Talk to neighbors in person | Depends on availability | Best for real performance info | Learning about actual speeds and service problems |
| Comparison websites (BroadbandNow, etc.) | 2-4 minutes | Decent starting point | Viewing multiple options simultaneously |
Buildings with only one approved provider aren't necessarily bad news. Sometimes that exclusivity means the infrastructure is actually better because the provider invested in proper wiring throughout the complex. Other times it means you're stuck with whoever won the contract bid five years ago, for better or worse.
Schedule Your Installation Before Moving Day
Installation appointments book out fast—sometimes two full weeks during summer moving season. Calling the day you get your keys means you're looking at potentially three weeks without home internet.
Two to three weeks ahead of your move-in date is the sweet spot for scheduling. You've got enough certainty about your timeline, and you'll snag reasonable appointment slots. Have your move-in date ready, your new address handy, and a sense of which service tier you want. During the May-through-September moving rush, push that to four weeks if you can swing it.
Here's a trick: ask for the first appointment slot of the day. Technicians running behind from earlier jobs won't affect you, and if something goes wrong, they've got their whole shift to fix it instead of saying "we'll have to reschedule."
If you can't access the apartment yet because your lease doesn't start until the first, mention that upfront. Some companies coordinate with building management for early access. Others absolutely require you there in person.
Transferring Service with Your Current Provider vs. Switching ISPs
Staying with your current provider when you move is simpler paperwork-wise. Your email stays the same, they skip the credit check, and sometimes—not always—they'll honor your current promotional rate. That last part requires pushback though.
Don't call the regular customer service number. Look up the retention department specifically. Say you're moving and weighing your options. Long-term customers have leverage here, especially if you've paid on time for years. Ask point-blank: "Does my current promo rate transfer, or am I jumping to full price?" Push back if they waffle.
Switching providers opens up new customer deals, which almost always beat existing customer pricing. You're also off the hook for early termination fees when moving somewhere your current provider doesn't serve. Get that fee waiver in writing though—email confirmation, reference number, the works.
Professional Installation vs. Self-Install Kits
Professional installation runs $50-$100, though new customers often get it free or discounted. A tech shows up, runs necessary cables, activates outlets if needed, sets up your equipment, tests everything, and doesn't leave until it works. Worth it if your apartment hasn't had service recently or you've never set up internet equipment before.
Self-install kits arrive in the mail with your modem, router (or combined gateway), cables, and instructions. You're on your own for setup, but you save money and can do it at 11 PM on a Tuesday if that's when you finish unpacking. This works well when your apartment has recently active connections and you're comfortable plugging things in and following activation steps.
Pick professional installation if the apartment's been empty for months, if you're not sure which wall outlets work, or if you just want guaranteed same-day connectivity. Go the self-install route when you've confirmed active connections exist and you'd rather work on your own schedule.

Author: Caroline Prescott;
Source: flexstarsolutions.com
What to Do If You're Transferring Internet to Your New Address
Keeping your current company streamlines things when they serve both addresses. Call at least two weeks out and specifically request a "service transfer" or "address change"—not cancellation followed by new setup. That wording matters for account continuity.
Questions to ask during that call:
- Will my monthly rate stay the same or switch to current standard pricing?
- Can I bring my existing modem and router, or does the new place need different equipment?
- Can you keep my old apartment connected for a few days while activating the new one?
- Who handles installation at the new place—do I need a technician or is it self-setup?
- Am I on the hook for any disconnect or transfer fees?
Equipment compatibility isn't guaranteed across addresses. Your cable modem might not work if your new building has fiber. Your DSL setup definitely won't work if you're switching to cable. Confirm equipment before packing it all up.
Service overlap costs extra but sometimes makes sense. Paying for internet at both places for three or four days means zero downtime. If you're moving over a long weekend or need to go back to the old place for cleaning, that overlap fee beats the headache of no connectivity.
Write everything down. Grab confirmation numbers, installation times, pricing promises—email is best. Photograph equipment serial numbers before moving anything. This saves you when equipment "goes missing" during the move or the company claims you never returned something.
How to Set Up Internet Yourself Using a Self-Install Kit
Your self-install kit shows up with everything needed, but the order of operations matters. Skipping around causes most of the "my internet doesn't work" support calls.
Find your wall connection first. Cable internet needs a coaxial outlet (round connector with threads). DSL uses standard phone jacks. Fiber requires an ONT box that's usually already installed by techs. Not every wall jack in your apartment actually works—some are dead ends, not connected to anything outside.
Plug your modem into the wall outlet with the supplied cable. For coax connections, screw it on finger-tight to both the wall and modem—don't crank it with pliers. Plug in the power. Now wait. Seriously, wait 5-10 minutes while the modem cycles through its startup. You'll see 4-5 lights: power, downstream, upstream, internet, and maybe online status.

Author: Caroline Prescott;
Source: flexstarsolutions.com
Before connecting anything else, activate your service. Your kit includes a phone number or website plus an activation code. You'll need your account number and the modem's MAC address (it's on a sticker on the device). This step registers your equipment on the network. Skip it and nothing will work, which is the number one self-install mistake.
Once the modem shows a solid internet light, connect your router. Some kits include a combined modem-router (called a gateway), which simplifies things. If they're separate devices, run an Ethernet cable from the modem to the router's WAN or Internet port—usually color-coded differently from the others.
Power up the router and wait another 3-5 minutes for full boot-up. Test with a wired connection first if possible—plug directly into the router via Ethernet. If that works, your internet is live and any problems are WiFi-specific.
Configure your WiFi by connecting to the router's default network name (check the label on the device) and accessing the settings page. Pick a new network name and strong password. Change the admin password too—leaving it as "admin/password" is asking for trouble.
About four out of five self-installs work perfectly when people follow the sequence. That other 20%? Almost always they skipped activation or started connecting things before the modem finished syncing. If your lights don't match the instruction sheet after 15 minutes, call support—don't keep unplugging everything and trying again
— Marcus Chen
Troubleshooting basics: Internet light stays off or blinking? Your wall outlet might be dead. Try a different one if you've got options. All lights solid but no internet access? Restart everything and double-check you completed activation. Stuck after half an hour? Call support—they can run diagnostics remotely.
Avoiding Internet Downtime When Moving Between Apartments
The gap between shutting off service at your old place and getting it running at the new one creates real problems. Lost work productivity, blown streaming plans, mobile hotspot overage charges—it adds up fast.
Schedule new apartment installation for move-in day or the day after at the latest. Keep your old place connected until you've tested the new setup. Yeah, you're paying double for a few days, but two days of overlapping service costs way less than the hassle of extended downtime.
Actually test your new connection before canceling the old one. Run speed tests, connect work devices, make sure everything functions. If installation happens while you're still at the previous apartment, have a friend check it or ask the tech to send photos of the completed setup.
Your phone's mobile hotspot saves you when delays happen. Check your data plan's hotspot allowance and understand overage costs before relying on it. Some carriers offer temporary data bumps for moving situations. A standalone mobile hotspot device might be worth buying if you work from home and literally can't afford gaps in service.
Switching providers? Coordinate cancellation carefully. Don't cancel your old service until the new one is active and tested. Providers prorate final bills, so you won't eat a full month's charge for canceling mid-cycle. Ask about the specific cancellation effective date versus your final service date—there's sometimes a processing lag.
If installation lands on a Friday, consider keeping old service active through the weekend. Weekend tech support is often skeleton crews, and you don't want your first weekend at the new place spent troubleshooting internet with no backup.
Returning Equipment to Your Old ISP and Avoiding Fees
Unreturned equipment fees range from $100-$300, sometimes more. These charges hit 30-60 days after disconnection, occasionally surprising people months later when they're not thinking about the old apartment anymore.
Figure out what you own versus what you're renting. If you paid a one-time purchase fee or bought your own modem and router, those are yours. Monthly equipment fees mean the gear belongs to the company. Dig through old bills or call if you're not sure.
Typical returns: modems, routers, cable boxes (if you bundled TV), remotes, power supplies. Standard Ethernet and coax cables usually stay with you—most providers don't want them back. Check your specific company's policy.
Request return instructions the same day you schedule cancellation. Don't wait. Many providers auto-email return labels when you disconnect. Others make you ask. Either way, get it before disconnecting.
Equipment Return Policies: Major Providers
| Company | Deadline | How to Return | Fee for Unreturned Gear | Documentation |
| Xfinity/Comcast | Within 30 days | Drop at UPS with prepaid label or Xfinity store | $150-$300 each device | Mandatory—keep tracking info |
| Spectrum | Within 30 days | UPS with prepaid label or Spectrum store | $100-$300 each device | Required—save receipt |
| AT&T | Within 21 days | Drop at FedEx using prepaid label | $150-$500 each device | Must have for fee waiver |
| Verizon Fios | Within 30 days | UPS/FedEx prepaid label or Verizon store | $100-$300 each device | Necessary—keep confirmation |
| Cox | Within 30 days | UPS with prepaid label or Cox store | $150-$250 each device | Strongly recommended |
Ship within a week of canceling—don't push it to the deadline. Packages get lost. You need buffer time to sort out problems if tracking shows issues. Pack securely in original boxes if you kept them, otherwise use a sturdy box with bubble wrap or packing paper.
Store drop-offs beat shipping every time. You walk out with a receipt confirming return, killing any disputes before they start. Bring photo ID and your account number. Store staff scan serial numbers and print confirmation on the spot.
Photograph everything before returning: equipment serial numbers, condition, your packed box. If shipping, photograph the sealed package with tracking label visible. Picture your drop-off receipt. This paper trail protects you when the provider inevitably claims they never got it.
Save confirmation numbers, tracking data, and receipts for 90 days minimum. Check your final bill for incorrect equipment charges. If fees show up, contact support immediately with your documentation. Most disputes resolve fast when you've got proof.

Author: Caroline Prescott;
Source: flexstarsolutions.com
Common Mistakes When Setting Up Apartment Internet (And How to Avoid Them)
Waiting until you're actually in the apartment to think about internet guarantees you're looking at one to two weeks without service, minimum. Installation books out that far in advance, longer during busy periods. Start researching and scheduling three weeks before moving.
Assuming wall jacks work because they exist causes frustration. Just because there's a coax outlet or phone jack on your wall doesn't mean it's connected to anything outside. Older buildings especially have outdated or disconnected infrastructure. Ask your landlord about outlet status before attempting self-setup.
Expecting same-day installation sets you up for disappointment. A few providers offer this in select markets, but standard scheduling means 2-3 business days at best. "Emergency" rush installation exists but costs $100-$200 extra.
Ignoring building restrictions creates surprise roadblocks. Some apartments require provider approval through management before any installation. Others ban drilling or running new cables. Review your lease and building rules before scheduling service that might need physical modifications.
Thinking you can reuse equipment from your old provider seems logical but rarely works. Spectrum modems won't work with Xfinity. Cable modems don't work with fiber. Even when physical connections match, providers lock equipment to their specific networks. Confirm compatibility with your new provider before assuming you can reuse gear.
Overlooking contract terms when moving can cost hundreds in early termination fees. Read your agreement before canceling. Many contracts include relocation clauses—if you're moving within the service area, you transfer without penalties. Moving outside the coverage zone typically qualifies for fee-free cancellation. Get written confirmation of how your move affects your contract.
Skipping speed tests after installation means you might not get what you're paying for. Test at different times during your first week—morning, afternoon, evening. If results consistently fall below your plan's advertised speeds, contact support. Could be a configuration problem, or you might qualify for account credits.
FAQ: Setting Up Internet in a New Apartment
Getting internet running in your new apartment doesn't have to mean days of hotspotting off your phone or surprise $200 equipment charges. Early planning beats everything—know your building's provider situation, understand the timeline, and coordinate carefully between old and new locations. Whether you opt for professional installation or handle it yourself, following the proper activation sequence and testing thoroughly before canceling old service protects you from frustrating connectivity gaps.
Treat internet setup like any other moving essential. Schedule it with the same priority as coordinating movers or transferring utilities. Document everything—installation appointments, equipment serial numbers, return confirmations—and keep those records accessible for at least three months post-move. With solid planning and attention to timing, you'll have working internet on day one at your new place.